
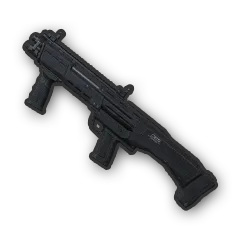
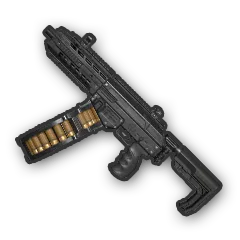

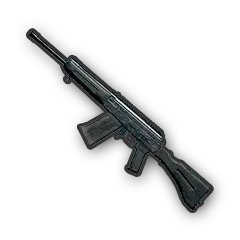
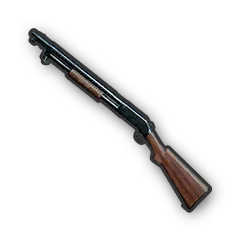
Three shotguns (S686, S1897, and S12K) have been added to the list of items obtainable from Red Supply Drops. Also applies to Custom Match.
Effective 3/11/2026, 12:00:00 AMPatch Notes - Update 40.2
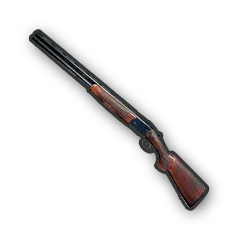
Two shots before reload; uses 12 Gauge shells.
The S686 is a break-action, double-barrel shotgun. It can fire two shells before it must be reloaded.
Select a weapon to view its damage stats
← Back to LeaderboardsCompare S686 with other Shotgun weapons
Supporting WinnerMeta
We rely on ads to keep the servers running.
Please disable AdBlock or Become a Supporter for an ad-free experience.
Measured from real match telemetry — bullet velocity, fire rate, and travel time for the S686
Fire Rate
123 RPM
486 ms between shots
Velocity Range
354.3–354.3 m/s
close to far range
Measured bullet travel time from S686 shots in real matches (50–800 m, phase > 1.5). Values are average flight speeds, not instantaneous speeds. Low-sample or inconsistent tails are omitted.
Estimated gravitational displacement (½gt², g = 9.8 m/s²) from event timing, not measured drop below the aim point or scope holdover. Only sufficiently sampled, consistent distance buckets are published.
Estimated from real match flight times, median-aggregated per 50 m bucket. P75 shows upper spread. Negative values = bullet falls below aim point.
Supporting WinnerMeta
We rely on ads to keep the servers running.
Please disable AdBlock or Become a Supporter for an ad-free experience.
How and where players use the S686 in real matches
Hit rate and kill efficiency over time
Weapon usage share over time
Weapon usage % across maps (14d)
Usage by circle number
Average engagement distances across maps
Engagement distribution %
Configure victim equipment and body parts to analyze PUBG weapon damage across distance ranges
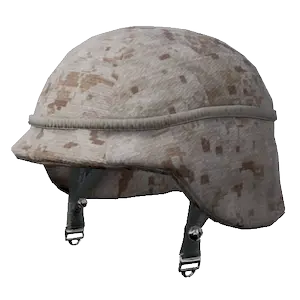
40% damage reduction.
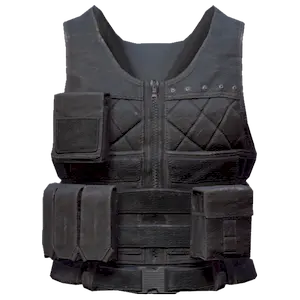
40% damage reduction.
Current configuration:
Which attachments players use on the S686 — ranked by kill %. +pp / −pp shows the delta vs. the slot average across all attachments.
Stock
| Attachment | Usage % | Acc % | Kill % | Avg Dmg |
|---|---|---|---|---|
1Bullet Loops | 46.8% | 88.62% 0.00pp | 19.60% 0.00pp | 6.8 0.00 dmg |
—No attachment | 53.2% | 89.18% | 19.42% | 7.7 |
Muzzle
| Attachment | Usage % | Acc % | Kill % | Avg Dmg |
|---|---|---|---|---|
1Choke | 30.2% | 89.04% 0.00pp | 16.65% 0.00pp | 6.2 0.00 dmg |
—No attachment | 69.8% | 88.84% | 20.70% | 7.8 |
Best performing maps ranked by kills (last 14 days)
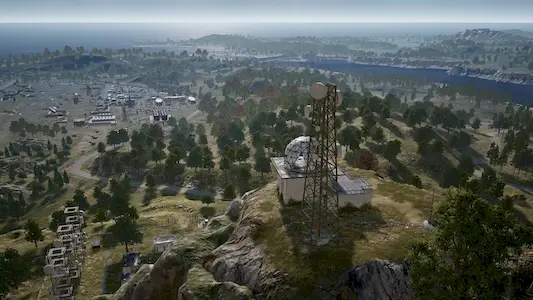 Erangel
 Taego
Taego Karakin
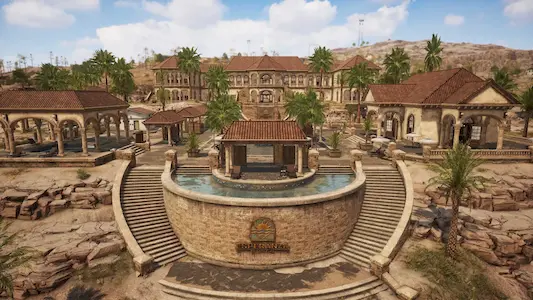 Miramar
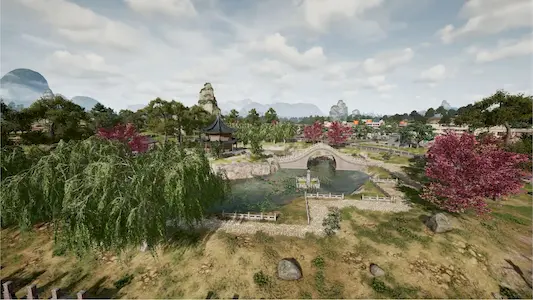 Rondo
Rondo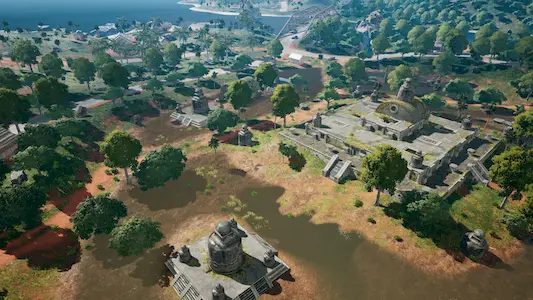 Sanhok
 Deston
Compare damage stats across different weapon types and find your perfect loadout
The interactive chart above shows how weapon damage varies with distance and victim armor. Select different helmets and vests to see how armor affects damage to different body parts. Toggle hit zones (Head, Torso, Arm, Leg, etc.) to compare damage values. The "Current configuration" banner shows your selected setup.
Three shotguns (S686, S1897, and S12K) have been added to the list of items obtainable from Red Supply Drops. Also applies to Custom Match.
This feature is in beta. We collect and analyze millions of telemetry events from PUBG matches daily to bring you the most accurate weapon statistics possible.
What you should know:
Found something wrong or have feedback? Contact us and let us know what we can improve!
Supporting WinnerMeta
We rely on ads to keep the servers running.
Please disable AdBlock or Become a Supporter for an ad-free experience.